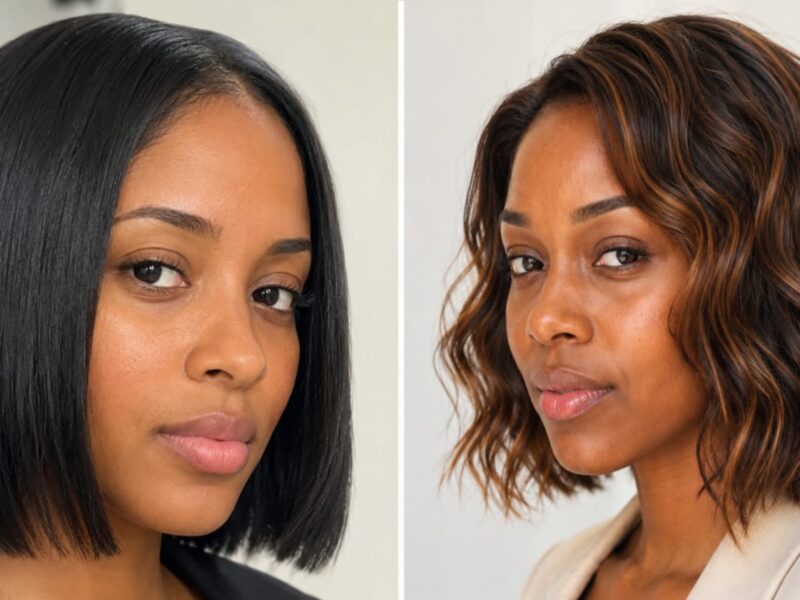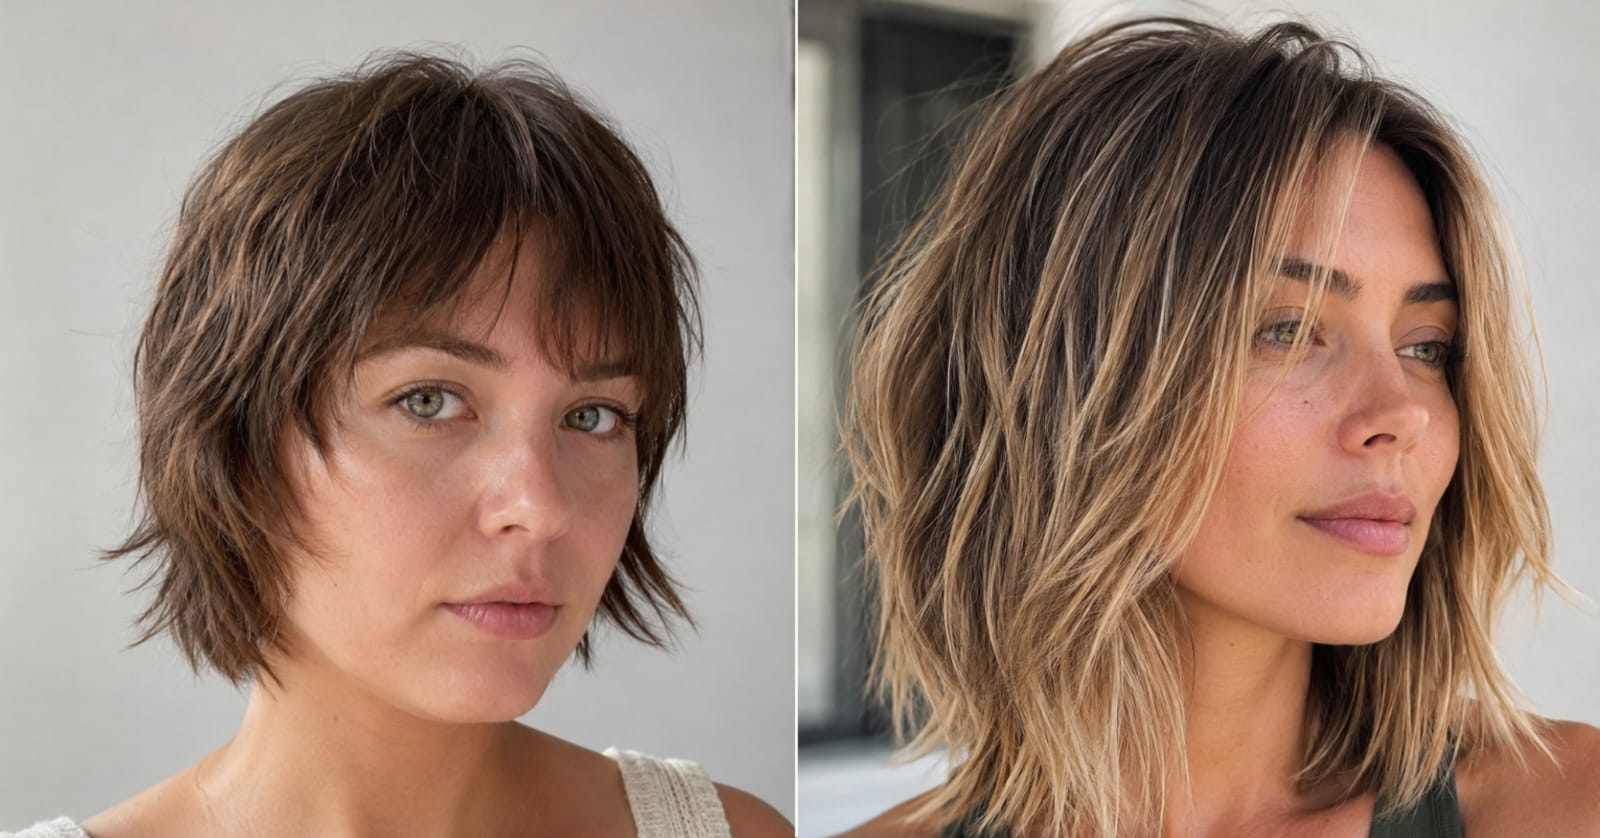
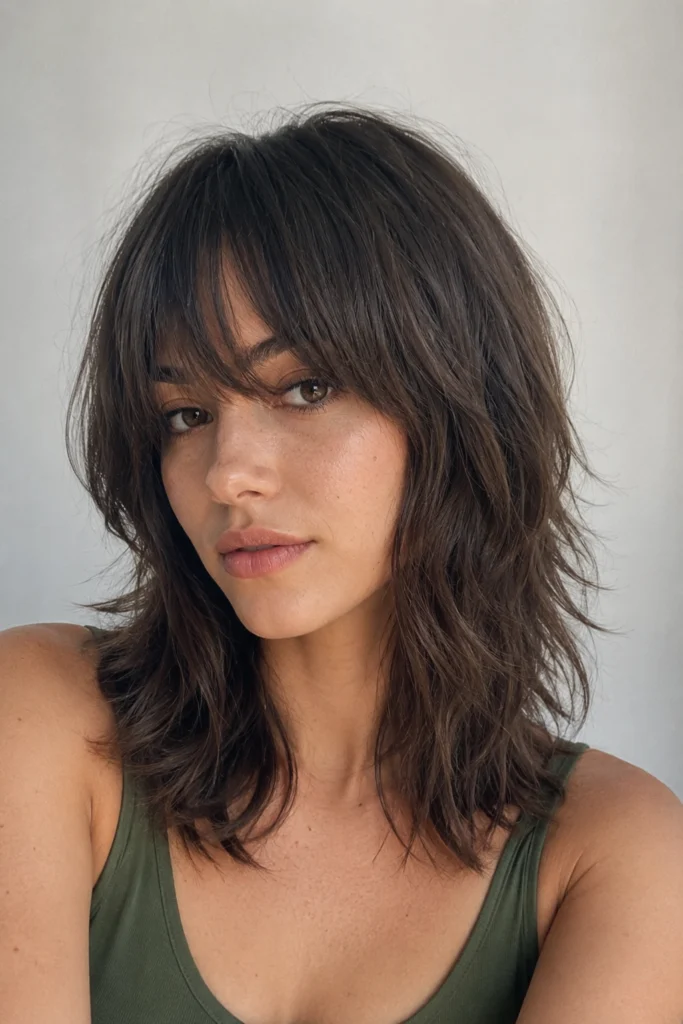
The shag is one of the most requested cuts of the last three years — but it’s also one of the fastest to fall apart between appointments. The layers that give it movement and texture in week one are the same layers that create an uneven, shapeless mid-section by week six. For anyone stretching appointments to every 8, 10, or even 12 weeks, that’s a real problem.
Not all shags age the same way, though. The grow-out behavior of a shag is determined by where the shortest layers are placed, how many graduation points the cut has, and whether the perimeter has enough weight to stay intentional as everything grows down. A cut with heavily razored ends and tight face-framing will look grown-out by week four. A cut built on blunt interior layers with a soft perimeter can stay wearable at ten weeks without a single trim. If you’ve been browsing short shag haircuts or considering something close to a wolf cut, grow-out behavior is the variable most people don’t ask about until it’s already a problem.
The 17 cuts below are ranked loosely from longest grow-out grace period to shortest — meaning the cuts at the top hold their shape the longest, and the ones at the bottom are genuinely high-maintenance. Every ranking is tied to a specific structural reason, not just a general impression.
Quick Takeaways
- Best for 10–12 week gaps: #1 Blunt-Perimeter Shag, #2 Collarbone Shag with Minimal Face-Framing, #3 One-Length-Base Shag
- Best for 8–10 week gaps: #4 Curtain-Bang Shag, #5 Wavy Shag with Invisible Layers, #6 Rounded Shag Bob
- Best for 6–8 week gaps: #7 Classic 70s Shag, #8 Curly Shag, #9 Textured Lob Shag, #10 Butterfly Shag
- Highest maintenance (4–6 week appointments): #11–#17
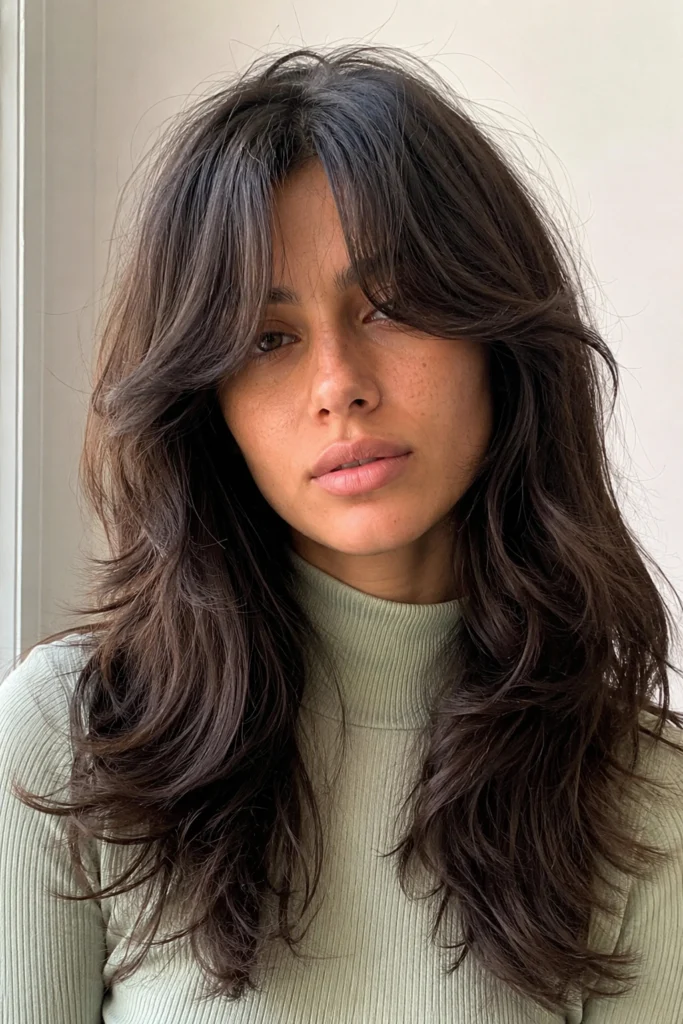
1. Blunt-Perimeter Shag
The single biggest factor in shag longevity is what happens at the perimeter — the outermost edge of the cut. When that edge is blunt and even, it reads as intentional even after two months of growth because the weight line stays visible. This version keeps the interior layers for movement and volume but leaves the ends unrazored and cut straight across. As the cut grows out, the interior layers simply elongate and soften rather than splitting into wispy, uneven pieces. The silhouette shifts slightly but never looks shapeless. For anyone on a 10–12 week schedule, this is the structural choice that makes that possible.
The tradeoff is that it sacrifices some of the raw, undone texture that makes a shag feel effortless at week one. It sits slightly closer to a layered bob in its first weeks but earns that with dramatically better mid-cycle wearability.
2. Collarbone Shag with Minimal Face-Framing
Face-framing layers are usually the first thing to go wrong as a shag grows out. When they’re cut aggressively short — chin-length or above — they grow into an awkward length that neither frames the face nor blends with the rest of the cut. This version keeps face-framing layers subtle: no shorter than jaw length, with soft graduation rather than a dramatic jump between the shortest and longest layer. At the collarbone length, the overall cut has enough weight and mass that the growing layers absorb into the body of the hair rather than sticking out.
The result is a shag that looks intentionally piece-y at week two and intentionally soft at week ten. It’s one of the best options for anyone with fine hair who can’t afford to lose perimeter density as the cut grows.
3. One-Length-Base Shag

This cut keeps the bottom two to three inches of hair completely unlayered, creating a solid base that acts as an anchor for everything above it. The layers live in the mid-section and crown only. What this means structurally is that as the cut grows, the unlayered base continues to look clean and deliberate while the upper layers simply gain length and lose some separation. There’s no point in the grow-out cycle where the cut looks unfinished — it just looks like a longer version of itself.
It’s worth noting this works best on straight to wavy hair. On tightly curly hair, an unlayered base can create a bottom-heavy pyramid shape. For curly versions of this approach, a rounded base with more interior graduation serves better.
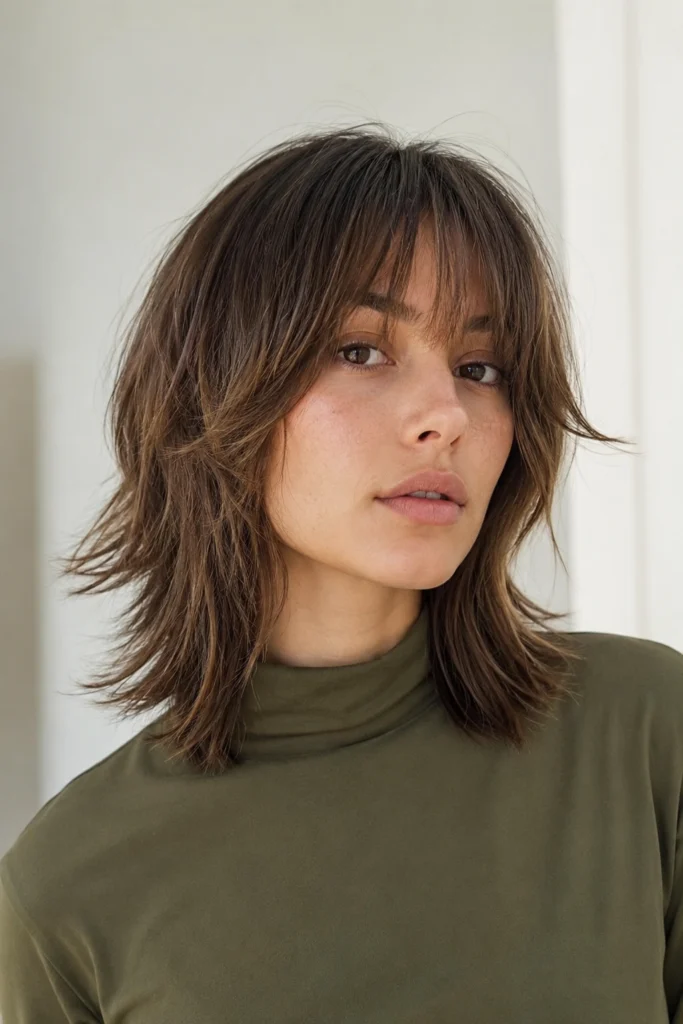
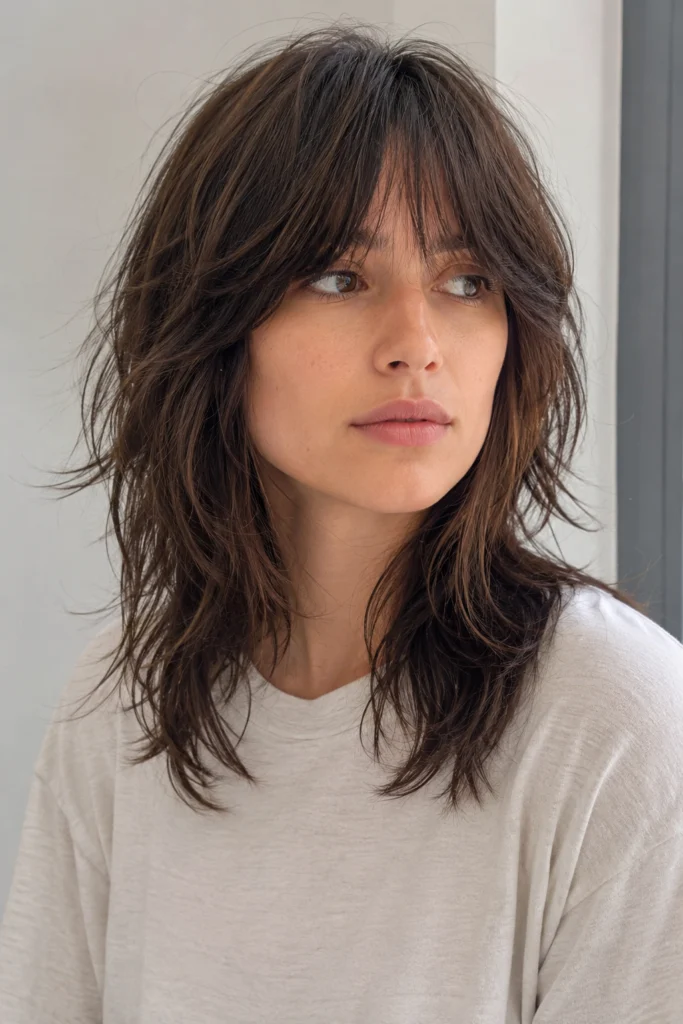
4. Curtain-Bang Shag
Curtain bangs are perhaps the most grow-out-friendly bang shape that exists, which is part of why this combination became so popular. Because curtain bangs are parted in the center and swept to the sides, they grow outward toward the face-framing layers rather than straight down onto the forehead. That means the transition from “curtain bang” to “long face-framing layer” is gradual and wearable at every stage. There’s no awkward in-between length the way there is with a blunt fringe.
The rest of the shag structure matters here too. This cut works best when the layers beneath the bangs are cut to grow into the curtain shape — meaning the face-framing layers are graduated to connect seamlessly with the bang’s endpoint. When that’s done right, the cut is wearable at 8–10 weeks with minimal effort. If the interior layers are cut too separately from the bang, the connection point becomes obvious as everything grows.
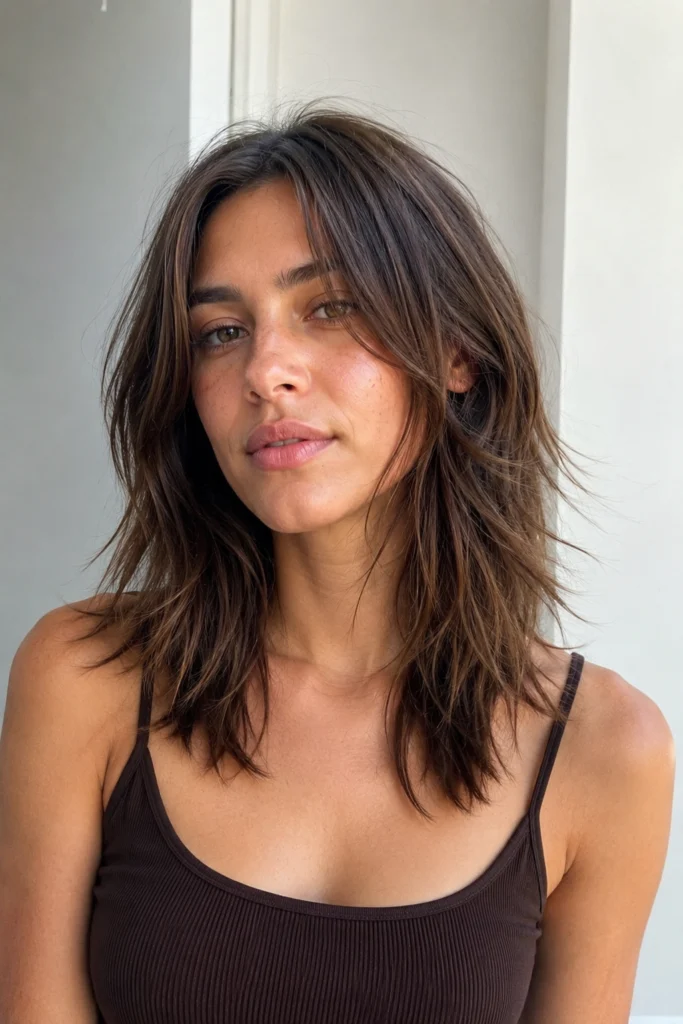
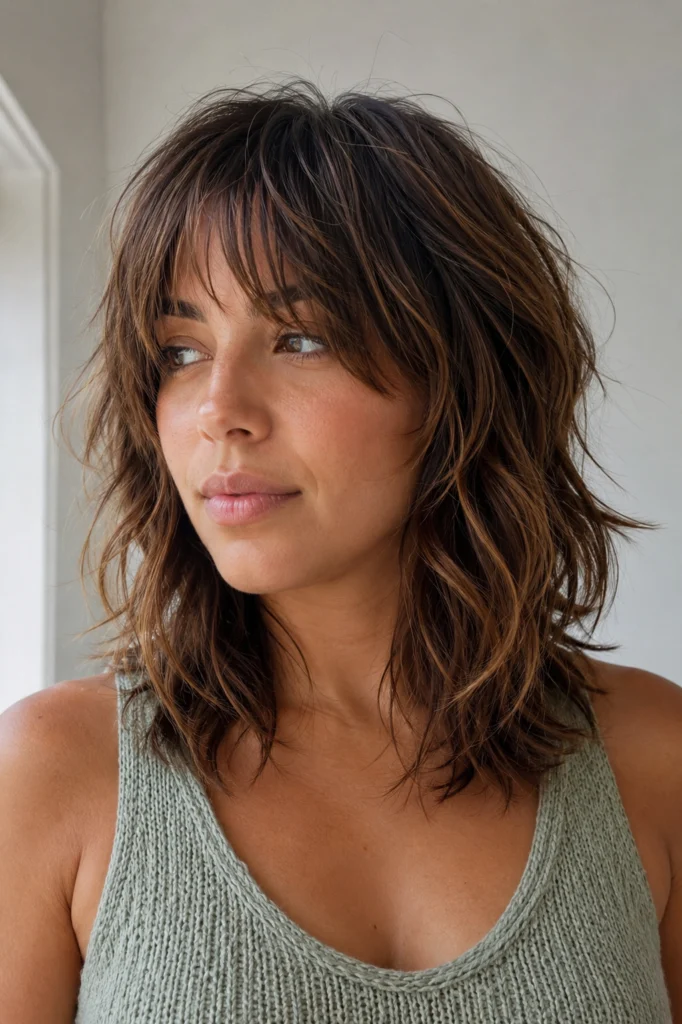
5. Wavy Shag with Invisible Layers

On wavy hair, individual layers are far less visible than on straight hair because the wave pattern breaks up the line between each layer. This is a structural advantage for grow-out: the layers can gain a full inch or more in length before the change in shape becomes noticeable. This version uses longer layers cut to fall within the wave rather than between waves, so each curl or wave pattern continues to sit correctly even as the overall length increases.
The technique that makes this work is called “wave-mapping” — a stylist identifies where each natural wave bends and places the layer cut at that bend rather than at an arbitrary length. As the hair grows, it continues to bend at the same point. If you have short wavy hair and are growing it out, this approach keeps the shape intact far longer than a standard layered cut.
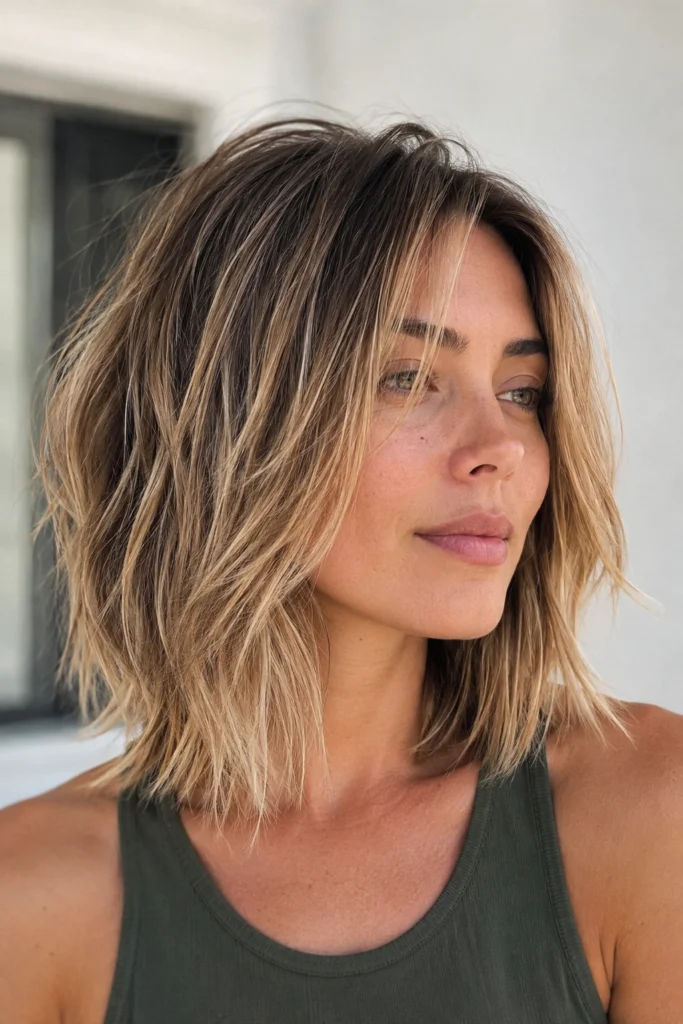
6. Rounded Shag Bob

A shag bob — typically sitting between the chin and collarbone — has an inherent grow-out advantage that longer shags don’t: the overall length difference between week one and week twelve is proportionally smaller. An inch of growth on a jaw-length cut is a much bigger visual shift than an inch of growth on a shoulder-length cut. The rounded version specifically (where the back perimeter curves slightly rather than sitting in a straight horizontal line) ages the best because the curve simply widens slightly as hair grows, maintaining the feeling of a deliberate shape.
The interior layers in this cut need to be conservative — no more than two to three distinct layer points — or the bob silhouette loses coherence too quickly. Done right, this sits at the 8–10 week range comfortably and transitions into a longer layered bob naturally as it grows.
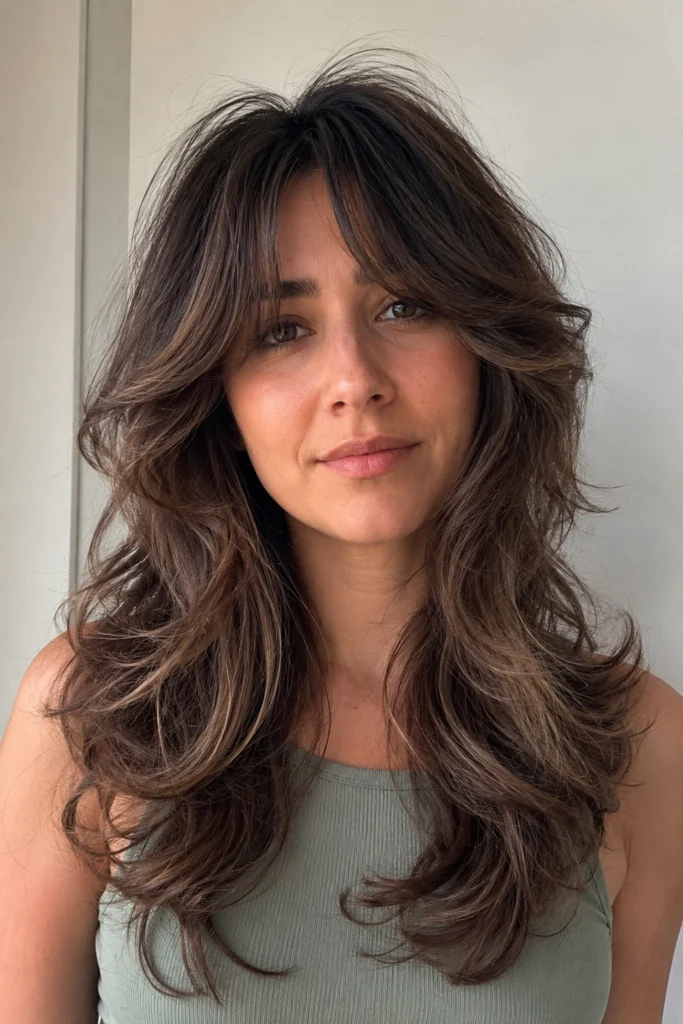
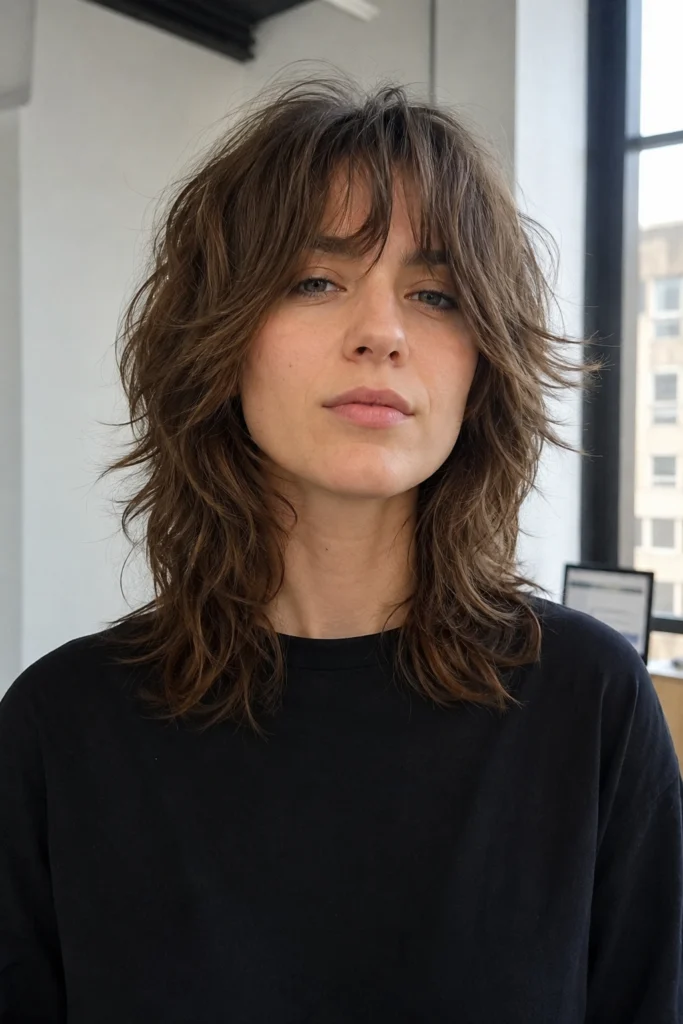
7. Classic 70s Shag

The original shag — think Stevie Nicks, Jane Fonda circa 1971 — is a longer cut with heavy layers concentrated in the crown and mid-section, with a feathered face-framing that starts at the cheekbone. It holds its shape reasonably well because the layers are relatively long to begin with, meaning there’s more grow-out tolerance before they hit an awkward length. The feathered face-framing, however, is where this cut starts to show its age around week seven or eight — the feathering begins to lose its flip and sits flat against the face instead of sweeping back.
The fix is simple and worth asking your stylist about specifically: request that the face-framing layers be cut with a slight upward angle rather than flat, which gives them more room to grow before losing their shape.
8. Curly Shag
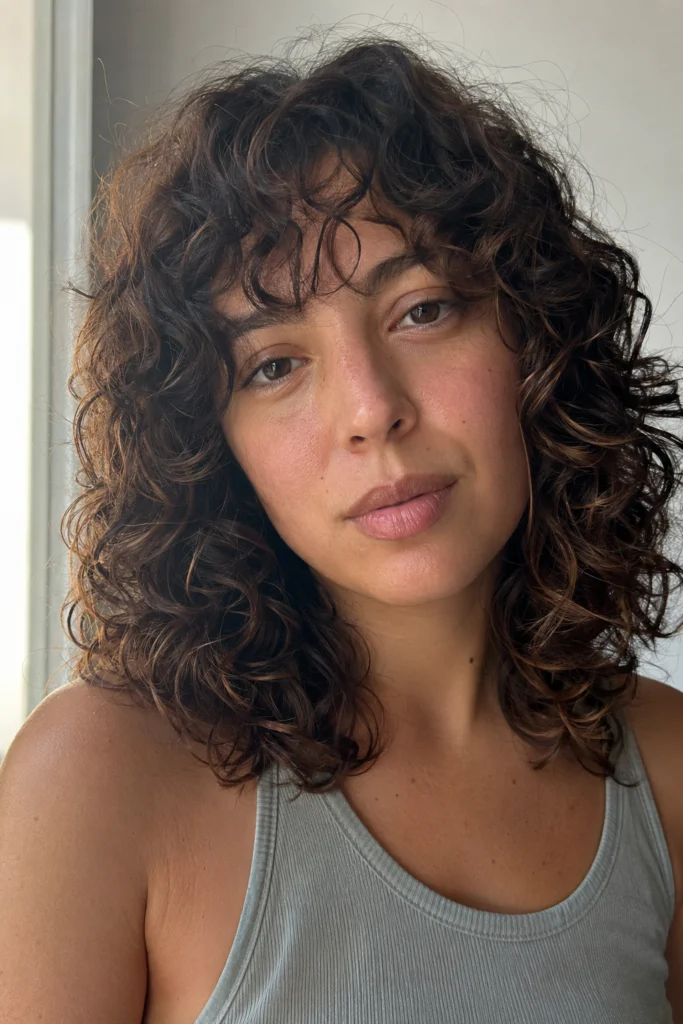
A well-cut curly shag can be surprisingly low-maintenance in the right hands, but grow-out behavior depends heavily on whether the layers were cut dry or wet. Curly hair cut wet stretches longer than its natural state, meaning the layers are often shorter than intended once the hair dries and contracts. As those layers grow, they may pop up rather than elongating, creating volume in the wrong places. Curly shags cut dry — or with a dry-cutting finish — have layers placed exactly where they’ll sit in real life, which means the grow-out is predictable.
If you’ve had a curly shag that looked great at week one and chaotic by week six, dry-cutting technique (or lack of it) is likely the reason. This cut sits at roughly 6–8 weeks of reliable shape, which is honest — curly hair simply responds to growth differently than straight hair does.
9. Textured Lob Shag
This is where the line between a shag and a textured lob gets genuinely blurry — and that’s actually its grow-out strength. Because the cut doesn’t commit fully to the heavy interior layering of a traditional shag, the structure is more forgiving as everything grows. The texture comes primarily from point-cutting the ends rather than from multiple distinct interior layer levels. As the cut grows, the point-cut ends simply soften rather than separating into visible uneven sections.
The weakness is that by week eight, this cut often looks more like a plain lob than a shag — the texture fades as the ends grow past the point where the cutting technique has any effect. Whether that’s a problem depends on whether you like the lob it grows into. For many people, it’s actually a plus.
10. Butterfly Shag
The butterfly cut — named for the way the crown layers fan out like wings above the lower layers — is visually striking for exactly as long as those crown layers stay at their intended length. The dramatic contrast between the short crown section and the longer underlayer is the whole point of the cut, and that contrast begins compressing the moment the crown starts growing. By week six, the “wings” are already softening. By week eight, the cut looks less like a butterfly and more like a generic layered cut with an uneven top section.
This is genuinely a 6–8 week cut for most hair types, and there’s no structural adjustment that changes that significantly — the effect is dependent on a specific length ratio that growth disrupts. It’s worth knowing this before booking, especially if you’re drawn to it for a special occasion.
11. Shag with Heavy Curtain Bangs (Below Brow)
When curtain bangs are cut to sit at or below the brow rather than above it, the grow-out window tightens considerably. The bangs have less room to travel before they’re long enough to fall into the eyes, and the swept shape starts to collapse into a center-parted curtain that sits flat rather than framing. Most people find these need attention at the five to six week mark.
12. Short Shag (Above the Chin)

The shorter the overall cut, the faster proportional growth changes the shape. A chin-length shag gains a visible half-inch within six weeks that shifts the entire silhouette. The interior layers, which were tightly stacked near the crown, start to elongate unevenly — some faster than others depending on hair growth patterns. This is a beautiful cut that genuinely requires six-week appointments to maintain its intended look, and that’s not a flaw, just a fact worth knowing before committing.
13. Razor-Cut Shag
Razoring creates texture by removing weight from the ends in a way that looks effortless and lived-in when fresh. The problem for grow-out is that those razored ends are intentionally thin and wispy, and as they grow, they don’t grow evenly — some sections catch up faster than others, and the result is ends that look split and ragged rather than intentionally textured. This is the cut most likely to prompt the “my hair just looks damaged” complaint at week seven or eight. Six weeks is the realistic maintenance window.
14. Shag with Heavily Disconnected Layers
Disconnected layers — where there’s a deliberate, visible gap between one layer level and the next — are one of the most stylistically bold choices in a shag. They’re also one of the first things to look unintentional as the hair grows. The gap that made the cut feel editorial at week one starts to look like a grow-out accident by week five or six because the layers are literally growing toward each other and the gap is closing unevenly.
15. Micro Shag (Jaw-Length or Above)
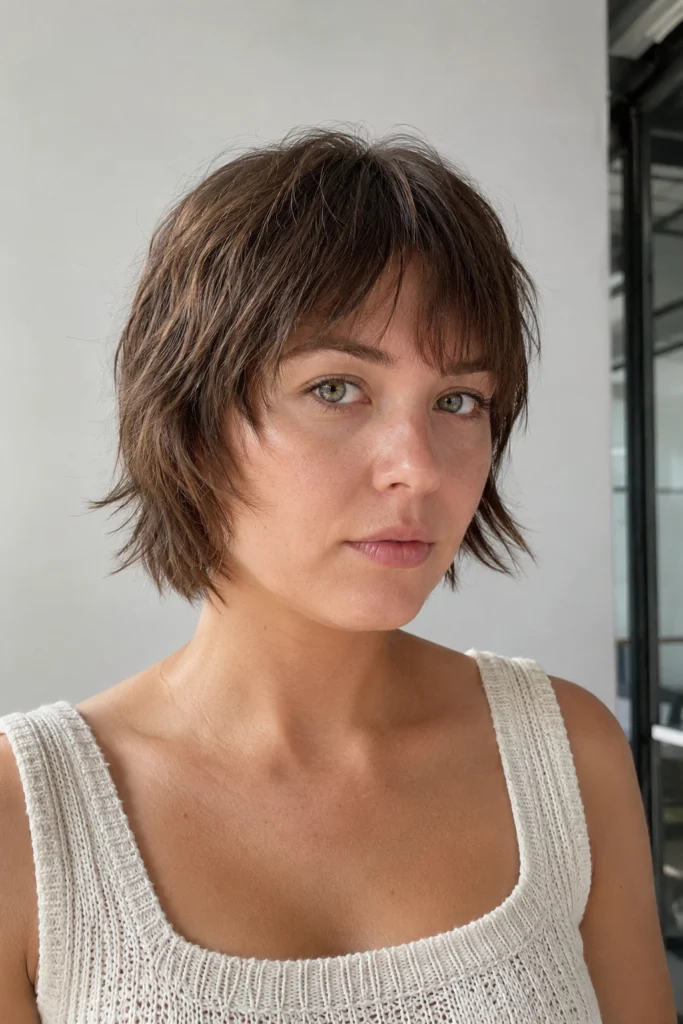
A micro shag sits at or above the jaw and concentrates all the layering in a very short range of lengths — sometimes only two to three inches between the shortest and longest layer. Growth affects this proportionally more than any other shag length. At the six-week mark, a micro shag is often unrecognizable as its original shape. It transitions closer to a grown-out pixie than a shag, which isn’t necessarily bad — but it’s a different cut.
16. Shag with Blunt Fringe (Straight-Across Bangs)

Straight-across bangs have one of the tightest maintenance windows of any bang shape — typically four to five weeks before they’re sitting in the eyes or losing their line. On a shag, the bangs are often the most defining element of the whole look, which means the entire cut starts to feel off once the bangs go. If the rest of the shag structure is otherwise low-maintenance, it’s worth asking your stylist whether the bangs can be transitioned to a curtain shape over time to extend the overall appointment gap.
17. Heavily Texturized Shag with Wispy Ends
This is the most high-maintenance version of the cut: maximum texturizing, point-cut or razored ends throughout, and multiple disconnected layer levels. It looks the most effortless and undone when fresh, and it deteriorates the fastest. The wispy ends start to look straggly rather than intentional within four to five weeks, the layers lose their separation, and the overall shape reads as “growing out” rather than “textured.” This is a four to five week cut, full stop, and no amount of product extends that meaningfully.
Shag Grow-Out Cheat Sheet
| Grace Period | Cuts |
|---|---|
| 10–12 weeks | Blunt-Perimeter Shag, Collarbone Shag, One-Length-Base Shag |
| 8–10 weeks | Curtain-Bang Shag, Wavy Shag with Invisible Layers, Rounded Shag Bob |
| 6–8 weeks | Classic 70s Shag, Curly Shag, Textured Lob Shag, Butterfly Shag |
| 5–6 weeks | Shag + Heavy Curtain Bangs, Short Shag (above chin), Razor-Cut Shag, Disconnected Layer Shag |
| 4–5 weeks | Micro Shag, Shag + Blunt Straight Fringe, Heavily Texturized Shag |
FAQ
How can I tell at home whether my shag layers were cut to grow out well or poorly? The most reliable test is the “wet-to-dry” check in the first week after your cut. When your hair is soaking wet and combed straight, count how many distinct horizontal lines (layer ends) you can see. Two to three visible layer levels generally mean a conservative cut with good grow-out tolerance. Five or more visible levels — especially if the gaps between them are large — means a heavily layered cut that will show growth quickly. Another test: run a single finger along the outermost edge of your hair. If it feels blunt and even, the perimeter is intact. If your finger snags on wispy uneven ends, those ends will look ragged before your next appointment.
Why does the same shag cut grow out beautifully on one person and terribly on another? Two main reasons: hair growth rate and growth pattern. The average scalp grows half an inch per month, but this varies by up to 30% between individuals — and more importantly, growth is rarely uniform across the scalp. Most people grow faster at the crown and slower at the nape, which means the top layers of a shag lengthen faster than the bottom ones. A cut designed without accounting for this will look uneven by week six even if the original cut was technically perfect. The fix is to ask your stylist to cut the crown layers slightly longer than the mathematical midpoint would suggest — this builds in tolerance for faster growth at the top.
Does the tool used to cut the shag (scissors vs razor vs thinning shears) actually affect how long it lasts? Yes, significantly. Scissors create a clean, blunt cut end that grows out evenly — each hair strand grows from the same endpoint. A razor creates a feathered, tapered end where each strand is cut at a different point along its length, which means as it grows, some strands are always ahead of others, creating the wispy-to-ragged progression. Thinning shears remove bulk from the middle of the hair shaft rather than the ends, which is the most grow-out-friendly texturizing technique because the ends themselves remain clean. If low-maintenance is your priority, asking your stylist to finish with thinning shears rather than a razor is the single most impactful technical request you can make.
Final Thoughts
A shag haircut’s grow-out life isn’t random — it’s the direct result of three technical decisions: where the shortest layers are placed, how the perimeter is finished, and what tool creates the texture. Understanding those variables doesn’t require any special hair knowledge; it just requires asking the right question before the appointment. The question isn’t “what shag do you think would suit me?” — it’s “how does this cut behave at eight weeks, and what specifically keeps it from falling apart?” Any stylist worth booking will have a direct answer.