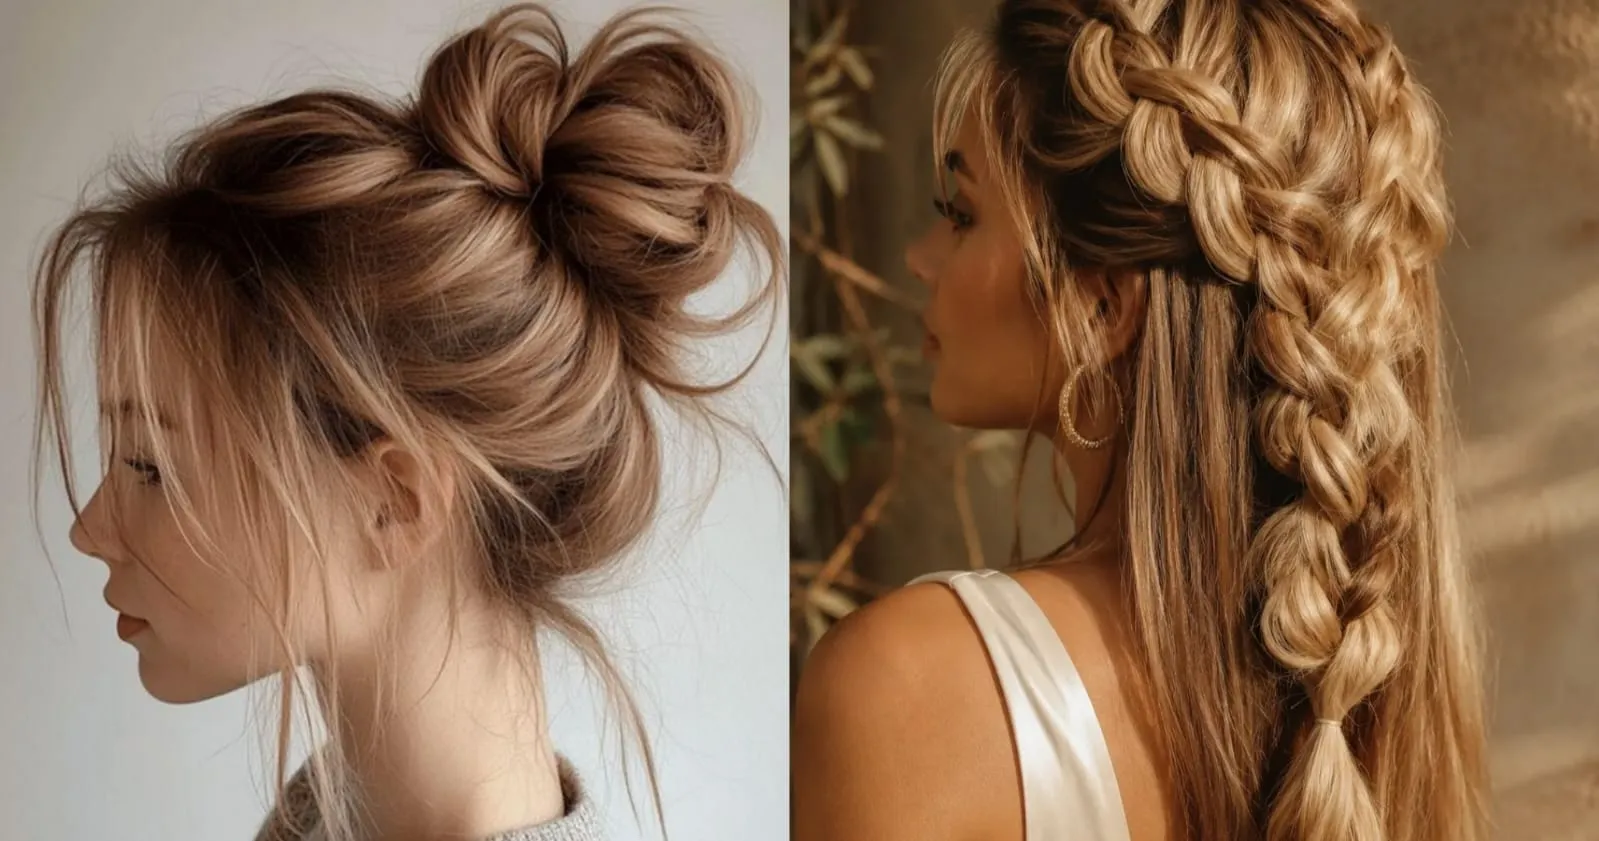
Half up, half down hairstyles solve a problem most other looks don’t even try to address: the daily back-and-forth between wanting your hair out of your face and wanting it down around your shoulders. You end up doing both, and somehow it works better than either option alone.
What makes this style so versatile is how much it can flex. A quick twist and a claw clip can carry you through a grocery run, while the same basic structure, dressed up with curls or a braid, can hold its own at a wedding. The base technique barely changes; what changes is how much effort you put into the details.
If you’ve only ever done the basic half-up ponytail, the styles below will show you how far this look can actually stretch, from low-key everyday versions to ones with real styling.
Why Half Up Half Down Works for Almost Everyone
This style hits a sweet spot most hairstyles don’t. You get hair off your face — cleaner, more put-together — but still keep that soft, relaxed energy a full updo takes away. It works on straight, wavy, curly, and that weird in-between texture most of us actually have.
The time factor is what keeps me coming back. Once you’ve done a style two or three times, your hands just remember. Most of these take under 10 minutes, and some take under five — for real.
1. The Classic Half Ponytail

This is where most people start and honestly it never gets old. It looks like you made an effort without screaming “I spent time on this” — which is my favourite energy for any hairstyle.
Once it’s tied, gently tug the ponytail upward to loosen it slightly. A tight half ponytail looks rushed. A loosened one looks deliberate. Also wrap a small piece of hair around the elastic and pin underneath — 10 extra seconds, way more polished result.
How to do it:
- Take the section from temples to crown
- Tie with a small elastic
- Loosen gently by tugging upward
- Wrap a strand around the elastic and pin it
2. Half Up Bun (The Messy One)

I leaned on this during a phase where I was growing out my layers and nothing sat properly. The half bun at the crown covered that awkward uneven section and honestly saved my confidence during a rough hair period.
Don’t aim for perfect here. If it looks too neat, reach in and loosen it. The whole charm is that it looks like it happened naturally — even though you very much made it happen on purpose.
How to do it:
- Pull top section into a ponytail
- Twist loosely and wrap around the base
- Leave a loop instead of pulling all the way through
- Tug out a few strands around your face
3. Twisted Half Up

This one earns more “how did you do that?” comments than anything else in my rotation. People assume it’s complicated because the result looks intentional — but the actual process is shockingly simple once you try it.
The number one mistake is over-twisting. Keep it relaxed, almost lazy-looking. Loose twists grip each other better when crossed and the pins hold longer too.
How to do it:
- Twist a section from your left temple toward the back
- Do the same on the right side
- Cross both twists and pin at the center
- Let the rest fall freely
4. Half Up With Braids on the Sides

I discovered this by accident when I was bored with my regular half-up but had no time to learn something new. I just braided a small section on each side before pulling everything back — and it completely changed how the style looked.
This is great for fine or slippery hair. The braids act like natural anchors and keep everything from sliding down by mid-afternoon.
How to do it:
- Braid a small section from each temple
- Bring both braids to the back
- Secure together with the rest of the top section
5. Boho Half Up With Face-Framing Curls

This is my go-to for anything requiring me to look like I tried. Weddings, birthday dinners, any event where showing up with flat hair feels like a missed opportunity — this is the style I reach for every time.
Curl the hair before doing the updo, not after. I made that mistake early on and the loose section always looked mismatched. Starting with curls throughout gives the whole style a cohesive, put-together look.
How to do it:
- Curl all your hair first using a 1-inch wand
- Gather and secure the top half loosely
- Pull a few pieces out to frame your face
- Mist with flexible hold hairspray
6. Sleek Half Up With a Middle Part

Sometimes you want something clean and sharp rather than soft and romantic. I wore this to a job interview last year and got three compliments before it even started — still thinking about that.
For flyaways, rub a tiny bit of pomade onto an old mascara wand and brush it lightly along your hairline. It sounds strange but it works better than any flyaway product I’ve bought from a store.
How to do it:
- Part hair cleanly down the middle
- Apply a small amount of smoothing cream to the top section
- Comb smooth and gather neatly
- Flat iron the loose section if needed
7. Space Buns Half Up Version

Full space buns feel like a commitment. The half-up version keeps the fun energy but stays wearable. I’ve worn this to outdoor markets, casual birthday parties, and a beach day — it held up better than expected every time.
Keep the buns small and tight rather than large and puffy. Small neat ones read as stylish. Large ones tip into costume territory pretty fast.
How to do it:
- Divide the top section into two equal parts
- Twist each into a small bun and secure
- Let the bottom half fall down naturally
8. Half Up With a Scrunchie

I resisted scrunchies for years thinking they were purely functional. Then I tried an oversized velvet one in deep burgundy and reversed my opinion in about four seconds flat.
The scrunchie is the outfit here. A plain silk one looks elegant. A chunky velvet one looks cozy and fashion-forward. Match it to what you’re wearing and don’t overthink the hair itself.
How to do it:
- Style a classic half ponytail
- Use an oversized scrunchie instead of a plain elastic
- Keep the hair slightly loose, not pulled tight
9. Dutch Braid Into Half Up

This has a small learning curve but the payoff is real. It photographs beautifully, holds for hours, and works especially well on second or third day hair when roots look greasy — the braid runs right along that area and makes it look intentional instead.
Give it a relaxed practice run on a Sunday when there’s no pressure. By the second or third try you’ll do it in half the time.
How to do it:
- Begin a Dutch braid at the top of your head
- Braid down to the crown and stop
- Secure braid end into the top section with an elastic
- Let the rest of your hair fall down
10. Knotted Half Up

This looks like it required planning but takes about 90 seconds. The knot adds visual interest compared to a plain ponytail and holds surprisingly well even on hair that usually refuses to cooperate.
After securing, gently tug the sides of the knot outward to make it look fuller. Small adjustment, noticeable difference in the final result.
How to do it:
- Gather the top section and split into two parts
- Tie those two parts into a single knot
- Secure beneath with a small pin or elastic
11. Half Up With a Claw Clip

The claw clip went from a 90s relic to a full style statement, and I’m completely on board. There’s something almost effortless about a big claw clip at the back — it manages to look relaxed and intentional at the same time.
Size up on the clip. One that’s slightly too large for the hair you’re clipping looks fashion-forward. One that barely fits looks purely functional.
How to do it:
- Loosely gather the top section
- Give it one loose twist
- Clip with an oversized claw clip at the center back
- Let a few pieces fall naturally around your face
12. Fishtail Braid Half Up

Out of all 15, this takes the most time — but gets the most attention. Someone once asked if I’d gotten it professionally done. I had not. I did it in my bathroom in 20 minutes on my third attempt.
Don’t try this for the first time when you’re running late. Give it a practice run with no pressure first. By attempt two or three it looks significantly better and takes half the time.
How to do it:
- Section off the top half of your hair
- Fishtail braid it and secure the end
- Gently pull the braid apart to make it fuller
- Pin flat at the back of your head
13. Half Up With a Ribbon or Scarf

Massively underused and I don’t understand why. A satin ribbon woven through a half ponytail looks like something from a fashion editorial and costs almost nothing.
This works best on relaxed or wavy hair rather than sleek pulled-back styles. On a messy base the ribbon looks romantic. On very slick hair it can look a bit stiff depending on the occasion.
How to do it:
- Create a half ponytail but don’t fully tighten the elastic
- Thread a thin ribbon through the elastic
- Tie into a bow or let the ends hang loose
- Remove the elastic once the ribbon holds on its own
14. Curly Half Up

If you have naturally curly or wavy hair, you already have texture most people spend 20 minutes trying to create. This style is designed to let it shine rather than fight it.
Finger-only gathering is non-negotiable here. A brush breaks up the curl pattern and creates frizz that no product can fully fix afterward.
How to do it:
- Apply curl cream or gel while hair is damp
- Air dry or diffuse until fully dry
- Use only fingers to gather the top curls loosely
- Pin at the back and let everything else spring naturally
15. The Romantic Low Half Up

This is my personal favourite. Unlike most half-up styles that sit at the crown, this one sits lower — and that small change makes it feel softer, more vintage, more intentional. It photographs beautifully from every angle.
The lower placement creates a silhouette that’s elegant without feeling uptight. It looks like you spent real time on it. You didn’t — but no one needs to know that.
How to do it:
- Gather a smaller section from face frame and crown
- Secure it lower than usual — below the crown, not at it
- Curl the loose section in soft open waves
- Pull a few pieces forward to frame your face
Tips That Apply to Every Style
- Second-day hair holds styles way better than freshly washed hair — don’t skip this
- Spray bobby pins with hairspray before inserting them — they hold twice as long
- Spiral elastics over regular ones — no snapping, no dents, better grip
- Tease the crown slightly before pulling back — prevents the top from looking flat
- Light hairspray mist from 12 inches away to finish — hold without crunch
Common Mistakes Worth Avoiding
Pulling the style too tight is the most common one — looks harsh and causes headaches by noon. Using an elastic that’s too small is the second — it snaps at the worst possible moment. Skipping the “loosen after securing” step makes even a good style look stiff and rushed.
Never attempt these on freshly washed hair with zero product. It slides out within an hour. A light texturizing spray before you start gives the hair something to grip and makes everything hold significantly longer.
FAQ
Q: Which style works best for thin or fine hair?
The twisted half up and braided sides version both add visual texture. Avoid sleek styles — they can highlight thinness rather than disguise it.
Q: Can these work on shorter hair?
Most of them yes. The classic ponytail, half bun, claw clip, and knotted styles work around chin length. Braid-heavy styles need more length.
Q: How do I make these last a full day?
Start with day-old hair, use texturizing spray before styling, finish with light hold hairspray. Spiral elastics also outlast regular thin ones easily.
Q: Best style for a formal event like a wedding?
The boho half up with curls (#5) and the romantic low half up (#15) are both beautiful for formal occasions and hold up well through long events.
Q: My hair is frizzy — will these still work?
Yes. Apply smoothing serum before starting and lean toward messier, textured styles rather than sleek ones. Frizz blends into texture with the right style.
Final Thoughts
Half up half down styles have saved me more times than I can count — five-minute mornings, events I wasn’t prepared for, awkward grow-out phases when nothing else worked. The versatility is real and the learning curve is genuinely low.
Start with the classic ponytail or claw clip version. Get comfortable and fast, then move into the braided and twisted styles once your hands know what they’re doing. Mix elements from different styles when you feel like it — some of the best looks come from happy accidents. Your hair is more forgiving than you think.

